How to install the theme with the Duplicator plugin?
In this article, I will show you how to use the Duplicator plugin to quickly and easy copy a localhost WordPress installation to an online hosting account.
Step 1 Copy Installer and Archive Files to Live Site
In order to install and unpack my packaged site, I need to copy the archive and installer files Duplicator created to my live site’s directory. I’m going to use FileZilla to do this with FTP.
Login to your site via FTP. Navigate to your public_html folder and copy the archive and installer files from your desktop to the folder. It may take a little while for the files to copy, especially if your archive file is quite large.

FTP into live site
Copy your Duplicator package files (installer and archive) to your live site.
Step 2 Installing Your Site On Your Live Server
The next step is to install the archived site on the live server. To do this, we will need to access the installer file we just copied to the live site, by adding /installer.php to the domain.
In my case, the address is http://littleraewrites.com/installer.php
The installer interface will appear, prompting you to add your MySQL details. If you are replacing an existing WordPress site (i.e. copying across an updated version of a site), you will need to enter your existing database details.
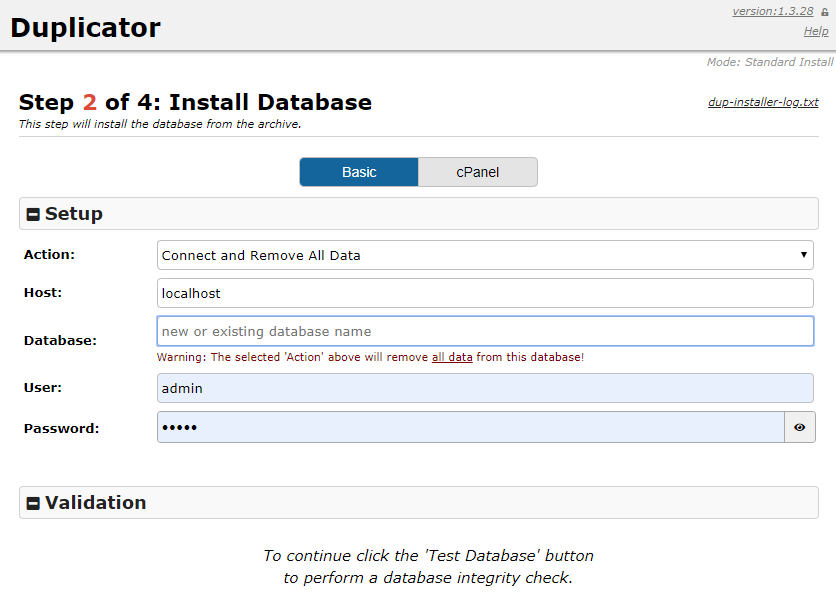
Test connection
Test your database connection to ensure they are correct.
If you are creating a new site, click Create New and enter fresh database details. Some hosting providers don’t allow the database creation option to work, which means you will need to manually create the database yourself.
Since my web host won’t let me automatically create a new database, here are the steps for creating a new database in cPanel:
In cPanel, open MySQL Database.
Create a new database and name it anything you like, though it will have a prefix.
Create a new user.
Add your newly created user to your newly created database.
Give your user access to all privileges and click Make Changes
When you have filled out your database details, click Test Connection to check whether the installer can access your database.
Ensure you get a “Success” manage for both the “Server Connected” and “Database Found” tests before moving on to the next step. This will ensure you will not encounter any problems during installation.

Test database connection
Make sure you get success for both fields before moving on through the steps.
Click Close and at the bottom of the installer screen check I have read all warnings and notices. Then click Run Deployment
The installer will then begin installing your site on your live server. It may take a while for the installation process to complete if your site is quite large.
During installation, Duplicator will ask you to confirm old and new details for your site. Make sure they’re correct and click Run Update
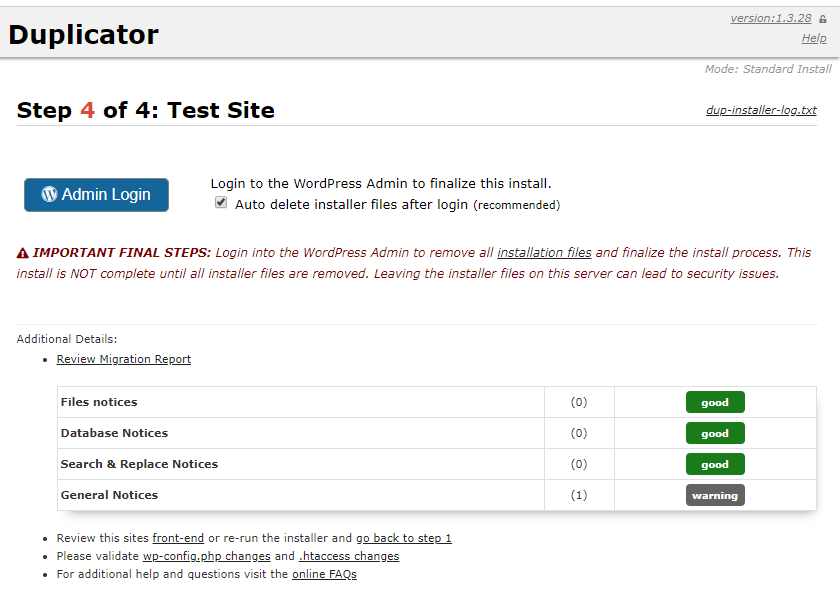
Final Duplicator Steps
Duplicator will ask you to complete four more short, yet important, steps:
Step 1 – Install Report – This is simply a report detailing any errors encountered (hopefully none!) and the numbers of database tables, rows and cells created, scanned and updated so you can check the plugin has copied across your database information.
Step 2 – Save Permalinks – Click on the link Save Permalinks link and you will be taken to your new, live site where you can save your permalinks preference.
Step 3 – Test Site – When you click on Test Site it will open the front-end of your live site so you can check that everything is working.
Step 4 – File Cleanup – It is important to remove the installer file and any associated files that were created during the installation process for security purposes. Click on File Cleanup to automatically delete these files.
Check Your Live Site
And that is it. Your live site should now be an exact replica of your localhost installation, only now it is available online for all the world to see.
Video tutorial
